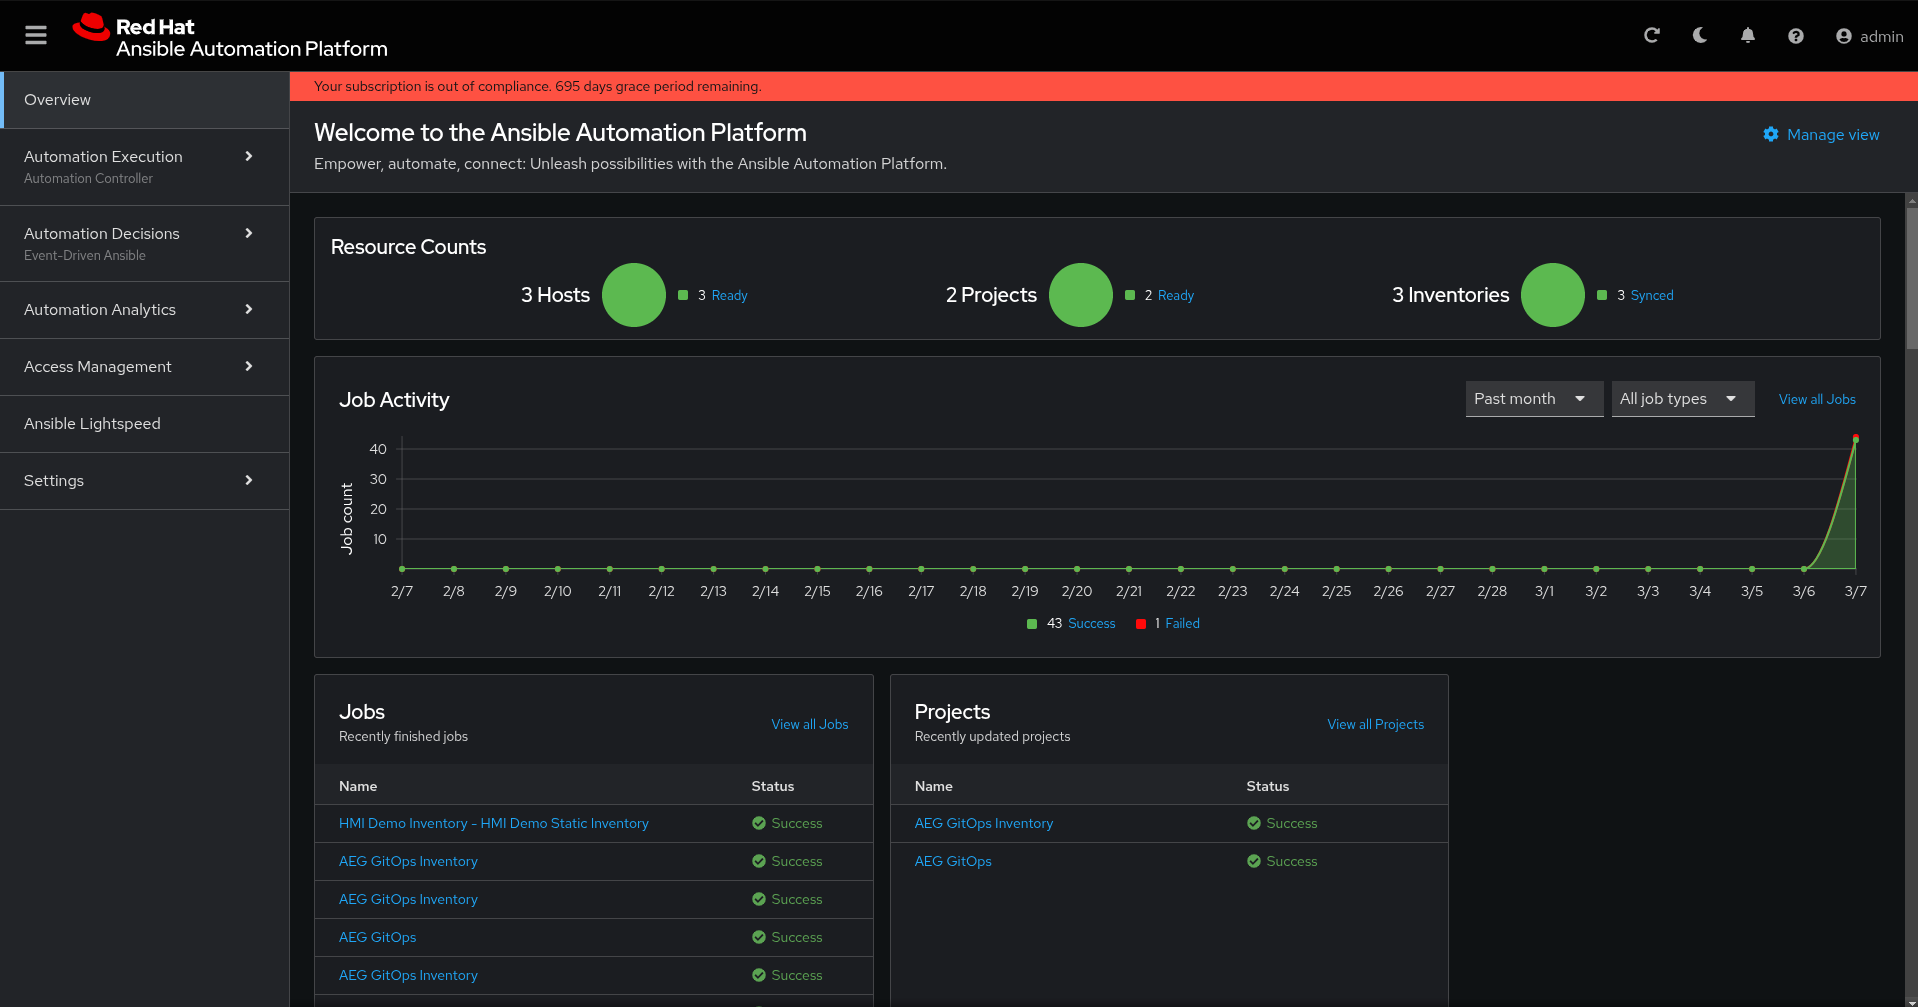
Ansible Automation Platform
How it’s installed
See the installation details here.
How to Log In
The default login user is admin
and the password is generated randomly at install time; you will need the password to login in to the AAP interface. You do not have to log in to the interface - the pattern will configure the AAP instance; the pattern retrieves the password using the same technique as the ansible_get_credentials.sh
script described below. If you want to inspect the AAP instance, or change any aspects of its configuration, there are two ways to login and look at it. Both mechanisms are equivalent; you get the same password to the same instance using either technique.
Via the OpenShift Console
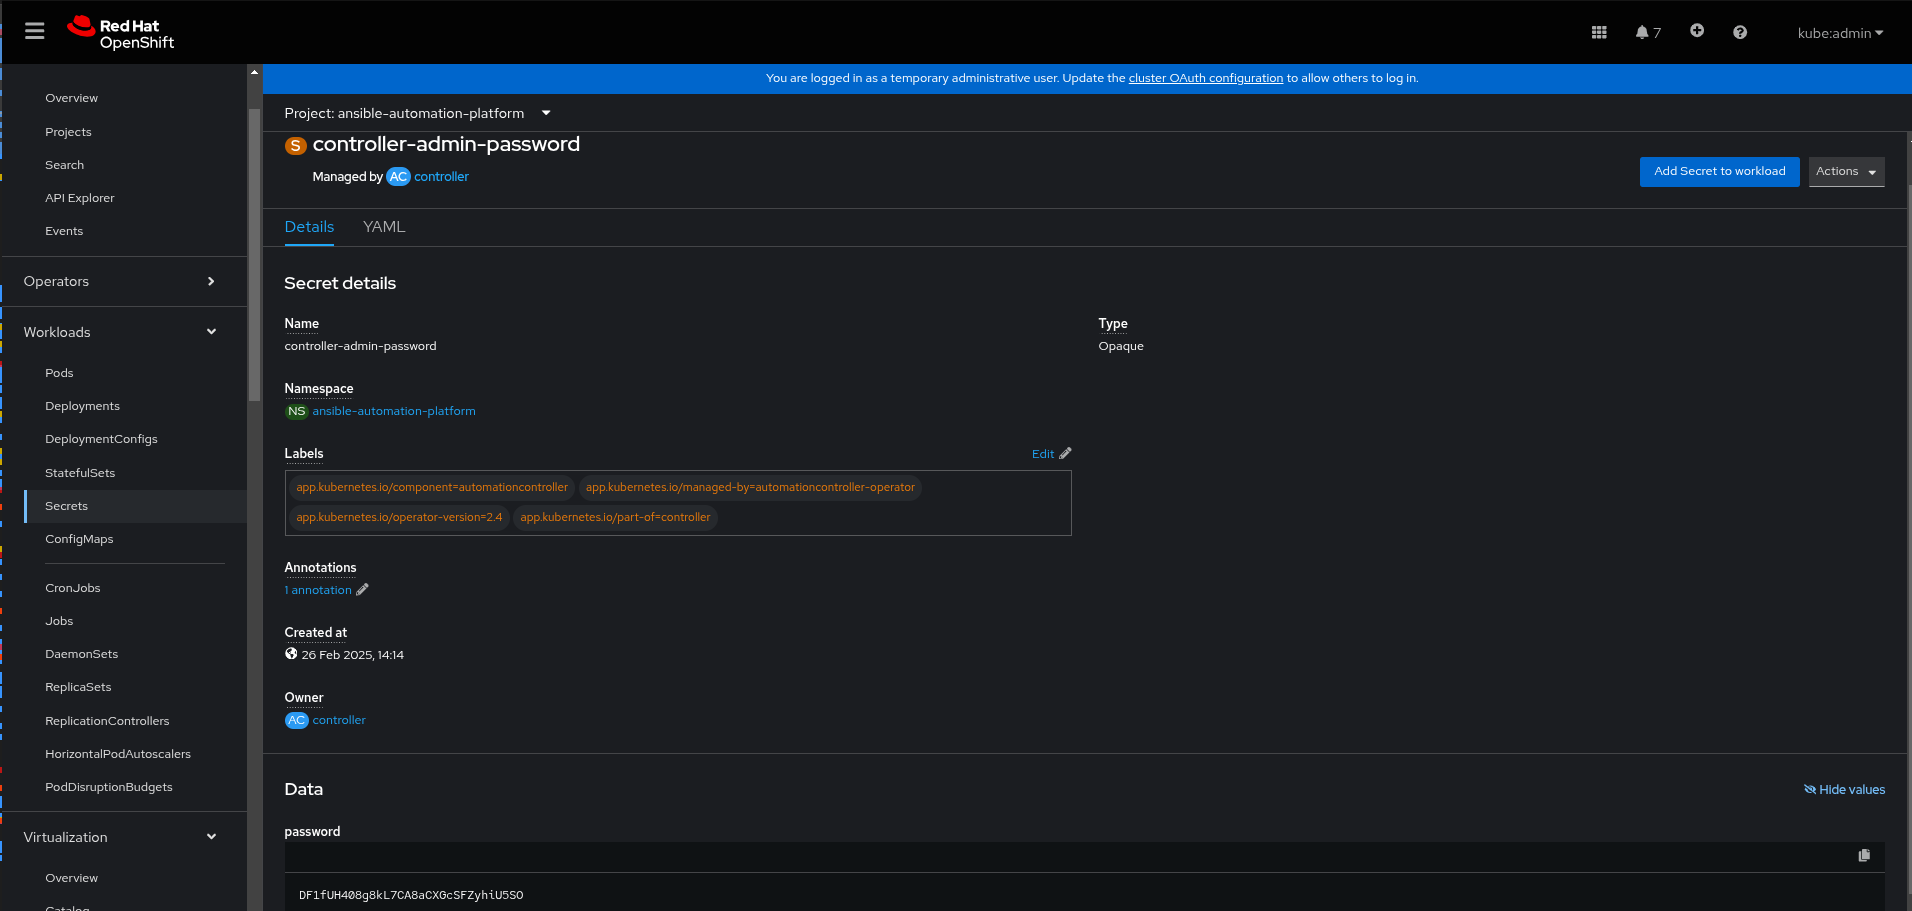
In the OpenShift console, navigate to Workloads > Secrets and select the “ansible-automation-platform” project if you want to limit the number of Secrets you can see.
The Secret you are looking for is in the ansible-automation-platform
project and is named controller-admin-password
. If you click on it, you can see the Data.password field. It is shown revealed below to show that it is the same as what is shown by the script method of retrieving it below:
Via ansible_get_credentials.sh
With your KUBECONFIG set, you can run ./scripts/ansible-get-credentials.sh
from your top-level pattern directory. This will use your OpenShift cluster admin credentials to retrieve the URL for your Ansible Automation Platform instance, as well as the password for its admin
user, which is auto-generated by the AAP operator by default. The output of the command looks like this (your password will be different):
./scripts/ansible_get_credentials.sh
[WARNING]: provided hosts list is empty, only localhost is available. Note that the implicit localhost does not match
'all'
PLAY [Install manifest on AAP controller] ******************************************************************************
TASK [Retrieve API hostname for AAP] ***********************************************************************************
ok: [localhost]
TASK [Set ansible_host] ************************************************************************************************
ok: [localhost]
TASK [Retrieve admin password for AAP] *********************************************************************************
ok: [localhost]
TASK [Set admin_password fact] *****************************************************************************************
ok: [localhost]
TASK [Report AAP Endpoint] *********************************************************************************************
ok: [localhost] => {
"msg": "AAP Endpoint: https://controller-ansible-automation-platform.apps.mhjacks-aeg.blueprints.rhecoeng.com"
}
TASK [Report AAP User] *************************************************************************************************
ok: [localhost] => {
"msg": "AAP Admin User: admin"
}
TASK [Report AAP Admin Password] ***************************************************************************************
ok: [localhost] => {
"msg": "AAP Admin Password: CKollUjlir0EfrQuRrKuOJRLSQhi4a9E"
}
PLAY RECAP *************************************************************************************************************
localhost : ok=7 changed=0 unreachable=0 failed=0 skipped=0 rescued=0 ignored=0
Pattern AAP Configuration Details
In this section, we describe the details of the AAP configuration we apply as part of installing the pattern. All of the configuration discussed in this section is applied by the ansible_load_controller.sh script.
Loading a Manifest
After validating that AAP is ready to be configured, the first thing the script does is to install the manifest you specify in the values-secret.yaml
file in the files.manifest
setting. The value of this setting is expected to be a fully-pathed file that represents a Red Hat Satellite manifest file with a valid entitlement for AAP. The only thing this manifest is used for is entitling AAP.
Instructions for creating a suitable manifest file can be found here.
While it is absolutely possible to entitle AAP via a username/password on first login, the automated mechanisms for entitling only support manifests, that is the technique the pattern uses.
Organizations
The pattern installs an Organization called HMI Demo
is installed. This makes it a bit easier to separate what the pattern is doing versus the default configuration of AAP. The other resources created in AAP as part of the load process are associated with this Organization.
Credential Types (and their Credentials)
Kubeconfig (Kubeconfig)
The Kubeconfig credential is for holding the OpenShift cluster admin kubeconfig file. This is used to query the edge-gitops-vms
namespace for running VM instances. Since the kubeconfig is necessary for installing the pattern and must be available when the load script is running, the load script pulls it into an AAP secret and stores it for later use (and calls it Kubeconfig
).
The template for creating the Credential Type was taken from here.
RHSMcredential (rhsm_credential)
This credential is required to register the RHEL VMs and configure them for Kiosk mode. The registration process allows them to install packages from the Red Hat Content Delivery Network.
Machine (kiosk-private-key)
This is a standard AAP Machine type credential. kiosk-private-key
is created with the username and private key from your values-secret.yaml
file in the kiosk-ssh.username
and kiosk-ssh.privatekey
fields.
KioskExtraParams (kiosk_container_extra_params)
This CredentialType is considered “secret” because it includes the admin login password for the Ignition application. This passed to the provisioning playbook(s) as extra_vars.
Inventory
The pattern installs an Inventory (HMI Demo), but no inventory sources. This is due to the way that OpenShift Virtualization provides access to virtual machines. The IP address associated with the SSH service that a given VM is running is associated with the Service object on the VM. This is not the way the Kubernetes inventory plugin expects to work. So to make inventory dynamic, we are instead using a play to discover VMs and add them to inventory “on the fly”. What is unusual about DNS inside a Kubernetes cluster is that resources outside the namespace must use the cluster FQDN - which is resource-name.resource-namespace.svc
.
It is also possible to define a static inventory - an example of how this would like is preserved in the pattern repository as hosts.
A standard dynamic inventory script is available here. This will retrieve the object names, but it will not (currently) map the FQDN properly. Because of this limitation, we moved to using the inventory pre-play method.
Templates (key playbooks in the pattern)
Dynamic Provision Kiosk Playbook
This combines all three key workflows in this pattern:
- Dynamic inventory (inventory preplay)
- Kiosk Mode
- Podman Playbook
It is safe to run multiple times on the same system. It is run on a schedule, every 10 minutes, to demonstrate this.
Kiosk Mode Playbook
This playbook runs the kiosk_mode role.
Podman Playbook
This playbook runs the container_lifecycle role with overrides suitable for the Ignition application container.
Ping Playbook
This playbook is for testing basic connectivity - making sure that you can reach the nodes you wish to manage, and that the credentials you have given will work on them. It will not change anything on the VMs - just gather facts from them (which requires elevating to root).
Schedules
Update Project AEG GitOps
This job runs every 5 minutes to update the GitOps repository associated with the project. This is necessary when any of the Ansible code (for example, the playbooks or roles associated with the pattern) changes, so that the new code is available to the AAP instance.
Dynamic Provision Kiosk Playbook
This job runs every 10 minutes to provision and configure any kiosks it finds to run the Ignition application in a podman container, and configure firefox in kiosk mode to display that application. The playbook is designed to be idempotent, so it is safe to run multiple times on the same targets; it will not make user-visible changes to those targets unless it must.
This playbook combines the inventory_preplay and the Provision Kiosk Playbook.
Execution Environment
The pattern includes an execution environment definition that can be found here.
The execution environment includes some additional collections beyond what is provided in the Default execution environment, including:
The execution environment definition is provided if you want to customize or change it; if so, you should also change the Execution Environment attributes of the Templates (in the load script, those attributes are set by the variables aap_execution_environment
and aap_execution_environment_image
).
Roles included in the pattern
kiosk_mode
This role is responsible does the following:
- RHEL node registration
- Installation of GUI packages
- Installation of Firefox
- Configuration of Firefox kiosk mode
container_lifecycle
This role is responsible for:
- Downloading and running a podman image on the system (and configure it to auto-update)
- Setting the container up to run at boot time
- Passing any other runtime arguments to the container. In this container’s case, that includes specifying an admin password override.
Extra Playbooks in the Pattern
inventory_preplay.yml
This playbook is designed to be included in other plays; its purpose is to discover the desired inventory and add those hosts to inventory at runtime. It uses a kubernetes query via the cluster-admin kube config file.
Provision Kiosk Playbook
This does the work of provisioning the kiosk, which configures kiosk mode, and also installs Ignition and configures it to start at boot. It runs the kiosk_mode and container_lifecycle roles.