$ oc get storageclass -o custom-columns=NAME:.metadata.name,PROVISIONER:.provisioner,DEFAULT:.metadata.annotations."storageclass\.kubernetes\.io/is-default-class"Deploying the Medical Diagnosis pattern
Prerequisites
An OpenShift cluster
To create an OpenShift cluster, go to the Red Hat Hybrid Cloud console.
Select OpenShift -> Red Hat OpenShift Container Platform -> Create cluster.
The cluster must have a dynamic
StorageClassto provisionPersistentVolumes. Verify that a dynamicStorageClassexists before creating one by running the following command:Example outputNAME PROVISIONER DEFAULT gp2-csi ebs.csi.aws.com <none> gp3-csi ebs.csi.aws.com trueFor more information about creating a dynamic
StorageClass, see the Dynamic provisioning.
A GitHub account and a token for it with repositories permissions, to read from and write to your forks.
An S3-capable storage set up in your public or private cloud for the x-ray images
The Helm binary, see Installing Helm For installation tooling dependencies, see Patterns quick start.
The Medical Diagnosis pattern does not have a dedicated hub or edge cluster. |
Setting up an S3 Bucket for the xray-images
An S3 bucket is required for image processing.
The utilities repo and specifically the aws-tools directory contains some S3 tools and EC2 tools.
For the official documentation on creating the buckets on AWS and other cloud providers, see the following links:
Utilities
Follow this procedure to use the scripts provided in the utilities repo to configure an S3 bucket in your AWS environment for the x-ray images.
Procedure
Fork the utilities repository on GitHub. Forking the repository allows you to update the repository as part of the GitOps and DevOps processes.
Clone the forked copy of this repository.
$ git clone git@github.com:validatedpatterns/utilities.gitGo to your repository: Ensure you are in the root directory of your Git repository by using:
$ cd utilitiesRun the following command to set the upstream repository:
git remote add -f upstream git@github.com:validatedpatterns/utilities.gitChange to the
aws-toolsdirectory:$ cd aws-toolsRun the following commands in your terminal to export environment variables for AWS authentication:
export AWS_ACCESS_KEY_ID=AKXXXXXXXXXXXXX
export AWS_SECRET_ACCESS_KEY=gkXXXXXXXXXXXXXXXXXXXXXXXXXXXXXXXXXXX
Ensure that you replace values with your keys
Create the S3 bucket by running the following command:
$ python s3-create.py -b kevtest-bucket -r us-east-1 -pCopy over the data from the validated patterns public bucket to the created bucket for your demo.
$ python s3-sync-buckets.py -s validated-patterns-md-xray -t kevtest-bucket -r us-east-1
Note the name of the bucket for further pattern configuration. Later you will update the bucketSource in the values-global.yaml file, where there is a section for s3:.
Preparing for deployment
Procedure
Fork the medical-diagnosis repository on GitHub. You must fork the repository because your fork will be updated as part of the GitOps and DevOps processes.
Clone the forked copy of this repository.
$ git clone git@github.com:<your-username>/medical-diagnosis.gitGo to your repository: Ensure you are in the root directory of your Git repository by using:
$ cd /path/to/your/repositoryRun the following command to set the upstream repository:
$ git remote add -f upstream git@github.com:validatedpatterns/medical-diagnosis.gitVerify the setup of your remote repositories by running the following command:
$ git remote -vExample outputorigin git@github.com:kquinn/medical-diagnosis.git (fetch) origin git@github.com:kquinn/medical-diagnosis.git (push) upstream git@github.com:validatedpatterns/medical-diagnosis.git (fetch) upstream git@github.com:validatedpatterns/medical-diagnosis.git (push)Create a local copy of the Helm values file that can safely include credentials.
Do not commit this file. You do not want to push personal credentials to GitHub.
Run the following commands:
$ cp values-secret.yaml.template ~/values-secret-medical-diagnosis.yamlExamplevalues-secret.yamlfileversion "2.0" secrets: # NEVER COMMIT THESE VALUES TO GIT # Database login credentials and configuration - name: xraylab fields: - name: database-user value: xraylab - name: database-host value: xraylabdb - name: database-db value: xraylabdb - name: database-master-user value: xraylab - name: database-password onMissingValue: generate vaultPolicy: validatedPatternDefaultPolicy - name: database-root-password onMissingValue: generate vaultPolicy: validatedPatternDefaultPolicy - name: database-master-password onMissingValue: generate vaultPolicy: validatedPatternDefaultPolicy # Grafana Dashboard admin user/password - name: grafana fields: - name: GF_SECURITY_ADMIN_USER: value: root - name: GF_SECURITY_ADMIN_PASSWORD: onMissingValue: generate vaultPolicy: validatedPatternDefaultPolicyBy default, the Vault password policy generates the passwords for you. However, you can create your own passwords.
If you want to create custom passwords for the database users you will need to edit this file:
$ vi ~/values-secret-medical-diagnosis.yamlWhen defining a custom password for the database users, avoid using the
$special character as it gets interpreted by the shell and will ultimately set the incorrect desired password.Create and switch to a new branch named my-branch, by running the following command:
$ git checkout -b my-branchEdit the
values-global.yamlupdating the S3 and datacenter details.$ vi values-global.yamlExample editedvalues-global.yamlfileglobal: pattern: xray options: useCSV: False syncPolicy: Automatic installPlanApproval: Automatic datacenter: storageClassName: gp3-csi cloudProvider: aws region: us-east-1 clustername: mytestcluster domain: aws.validatedpatterns.io xraylab: namespace: "xraylab-1" s3: # Values for S3 bucket access # bucketSource: "provide s3 bucket name where images are stored" bucketSource: kevtest-bucket # Bucket base name used for image-generator and image-server applications. bucketBaseName: "xray-source" main: clusterGroupName: hub multiSourceConfig: enabled: true clusterGroupChartVersion: 0.9.* # Example Configuration #datacenter: # cloudProvider: aws # storageClassName: gp2 # region: us-east-1 # clustername: example-sample # domain: patterns.redhat.comAdd
values-global.yamlto the staging area:$ git add values-global.yamlCommit the staged changes with a message:
$ git commit -m "Update values-global.yaml"Push the changes to your forked repository:
$ git push origin my-branch
You can proceed to install the Medical Diagnosis pattern pattern by using the web console or from command line by using the script ./pattern.sh script.
To install the Medical Diagnosis pattern pattern by using the web console you must first install the Validated Patterns Operator. The Validated Patterns Operator installs and manages Validated Patterns.
Installing the Validated Patterns Operator using the web console
Prerequisites
Access to an OpenShift Container Platform cluster by using an account with
cluster-adminpermissions.
Procedure
Navigate in the Red Hat Hybrid Cloud Console to the Operators → OperatorHub page.
Scroll or type a keyword into the Filter by keyword box to find the Operator you want. For example, type
validated patternsto find the Validated Patterns Operator.Select the Operator to display additional information.
Choosing a Community Operator warns that Red Hat does not certify Community Operators; you must acknowledge the warning before continuing.
Read the information about the Operator and click Install.
On the Install Operator page:
Select an Update channel (if more than one is available).
Select a Version (if more than one is available).
Select an Installation mode:
The only supported mode for this Operator is All namespaces on the cluster (default). This installs the Operator in the default
openshift-operatorsnamespace to watch and be made available to all namespaces in the cluster. This option is not always available.Select Automatic or Manual approval strategy.
Click Install to make the Operator available to the selected namespaces on this OpenShift Container Platform cluster.
Verification
To confirm that the installation is successful:
Navigate to the Operators → Installed Operators page.
Check that the Operator is installed in the selected namespace and its status is
Succeeded.
Creating the Medical Diagnosis GitOps instance
Prerequisites
The Medical Diagnosis pattern is successfully installed in the relevant namespace.
Procedure
Navigate to the Operators → Installed Operators page.
Click the installed Validated Patterns Operator.
Under the Details tab, in the Provided APIs section, in the Pattern box, click Create instance that displays the Create Pattern page.
On the Create Pattern page, select Form view and enter information in the following fields:
Name - A name for the pattern deployment that is used in the projects that you created.
Labels - Apply any other labels you might need for deploying this pattern.
Cluster Group Name - Select a cluster group name to identify the type of cluster where this pattern is being deployed. For the Medical Diagnosis pattern,
hubis correct unless you updated it invalues-global.yamlabove.To know the cluster group name for the patterns that you want to deploy, check the relevant pattern-specific requirements.
Expand the Git Config section to reveal the options and enter the required information.
Leave In Cluster Git Server unchanged.
Change the Target Repo URL to your forked repository URL. For example, change
https://github.com/validatedpatterns/<pattern_name>tohttps://github.com/<your-git-username>/<pattern-name>Optional: You might need to change the Target Revision field. The default value is
HEAD. However, you can also provide a value for a branch, tag, or commit that you want to deploy. For example,v2.1,main, or a branch that you created,my-branch.
Click Create.
A pop-up error with the message "Oh no! Something went wrong." might appear during the process. This error can be safely disregarded as it does not impact the installation of the Medical Diagnosis pattern. Use the Hub ArgoCD UI, accessible through the nines menu, to check the status of ArgoCD instances, which will display states such as progressing, healthy, and so on, for each managed application. The Cluster ArgoCD provides detailed status on each application, as defined in the clustergroup values file.
The Red Hat OpenShift GitOps Operator displays in list of Installed Operators. The Red Hat OpenShift GitOps Operator installs the remaining assets and artifacts for this pattern. To view the installation of these assets and artifacts, such as Red Hat Advanced Cluster Management (RHACM), ensure that you switch to Project:All Projects.
Wait some time for everything to deploy. You can track the progress through the Hub ArgoCD UI from the nines menu. The xraylab-database project appears stuck in a Degraded state. This is the expected behavior when installing using the OpenShift Container Platform console.
To resolve this you need to run the following to load the secrets into the vault:
$ ./pattern.sh make load-secretsYou must have created a local copy of the secret values file by running the following command:
$ cp values-secret.yaml.template ~/values-secret-medical-diagnosis.yaml
The deployment will not take long but it should deploy successfully.
Alternatively you can deploy the Medical Diagnosis pattern pattern by using the command line script pattern.sh.
Deploying the cluster by using the pattern.sh file
To deploy the cluster by using the pattern.sh file, complete the following steps:
Log in to your cluster by running the following command:
$ oc loginOptional: Set the
KUBECONFIGvariable for thekubeconfigfile path:$ export KUBECONFIG=~/<path_to_kubeconfig>Deploy the pattern to your cluster. Run the following command:
$ ./pattern.sh make installVerify that the Operators have been installed.
To verify, in the OpenShift Container Platform web console, navigate to Operators → Installed Operators page.
Check that the Red Hat OpenShift GitOps Operator is installed in the
openshift-operatorsnamespace and its status isSucceeded.
Wait some time for everything to deploy. You can track the progress through the
Hub ArgoCDUI from the nines menu.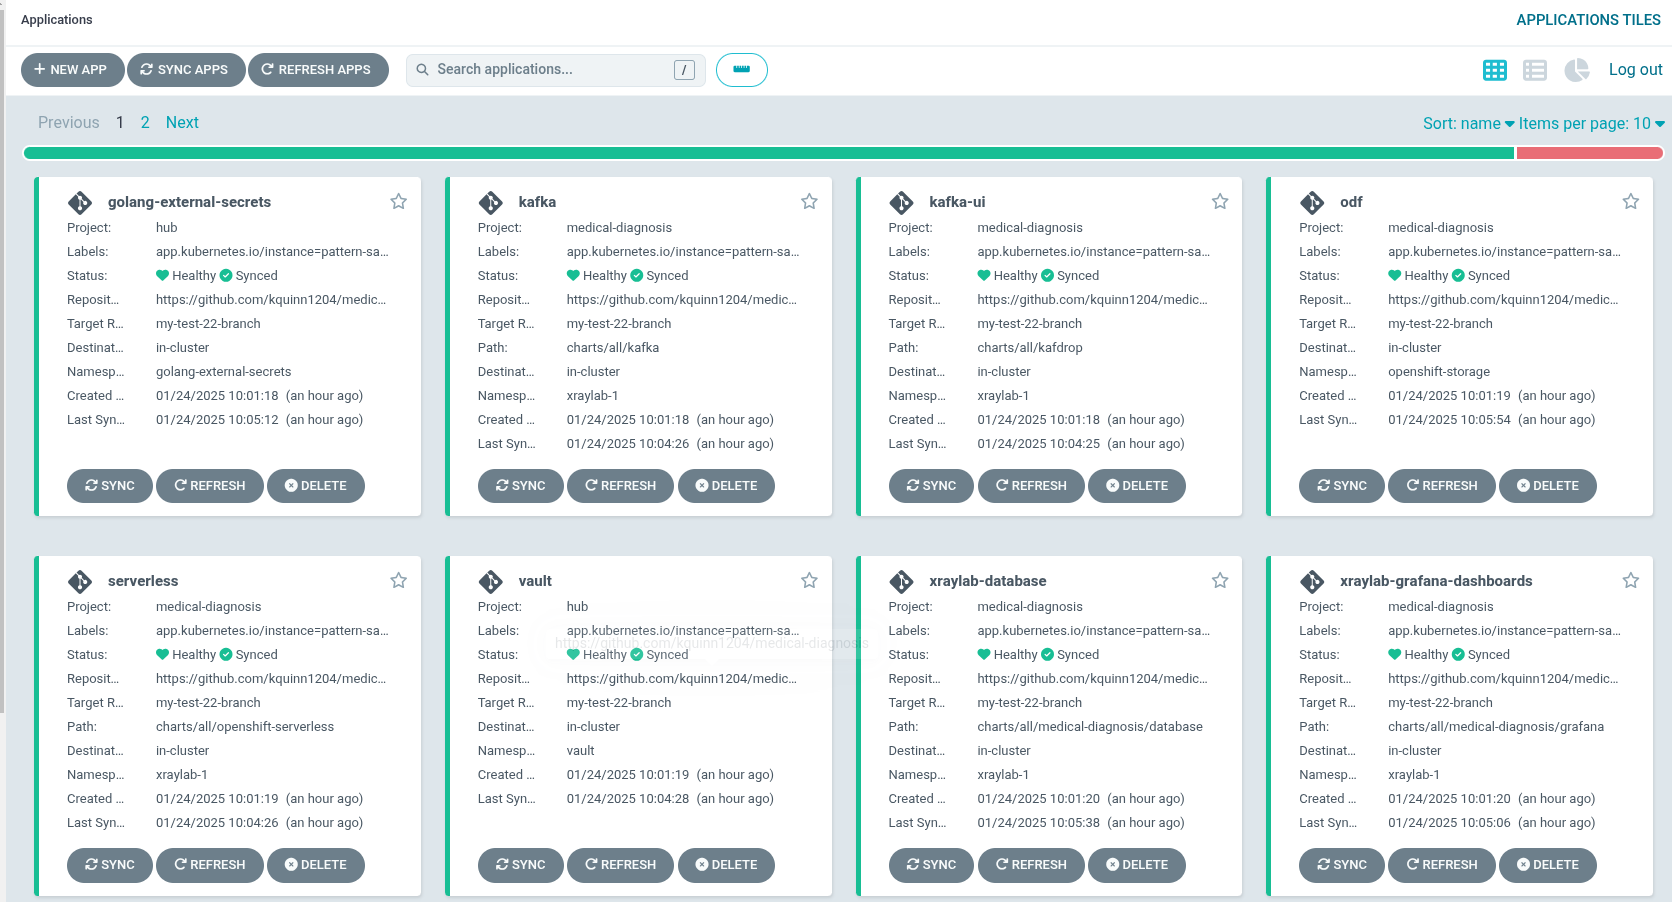

As part of installing by using the script pattern.sh pattern, HashiCorp Vault is installed. Running ./pattern.sh make install also calls the load-secrets makefile target. This load-secrets target looks for a YAML file describing the secrets to be loaded into vault and in case it cannot find one it will use the values-secret.yaml.template file in the git repository to try to generate random secrets.
For more information, see section on Vault.
Verification
To check the various applications that are being deployed, you can view the progress of the OpenShift GitOps Operator.
Examine the |
Check that all applications are synchronized. There are thirteen different ArgoCD
applicationsthat are deployed as part of this pattern.
